
Heading out into the woods for the weekend? Unless you’re a camping enthusiast with your own camp trailer, RV, or you’re renting a cabin then the odds are good that you’ll be spending the initial part of your vacation setting up a tent. Whether you’ve done it a dozen times or htis is your first attempt it’s always good to review the how-to process before heading out. Here’s our quick step by step guide to help ensure it’s as stable as can be.
1. Position the tent.
First, lay out your tarp to give an extra layer of protection between the ground and the bottom of your tent. Then open up the tent and spread it out over your tarp. Consider which way the breeze is moving as you choose which direction to face the openings of your tent.
2. Stake down the corners.
When setting up, you might want to stake down the tent prior to inserting the posts and raising it up. This decision is most likely dependent on the size of your particular tent. Marking down the corners before you start gives you additional security, particularly in a windy climate. Stake out each side of the tent at a 45-degree angle. Then pull each edge tight — a tight tent base will make the remainder of the tent easier to construct.
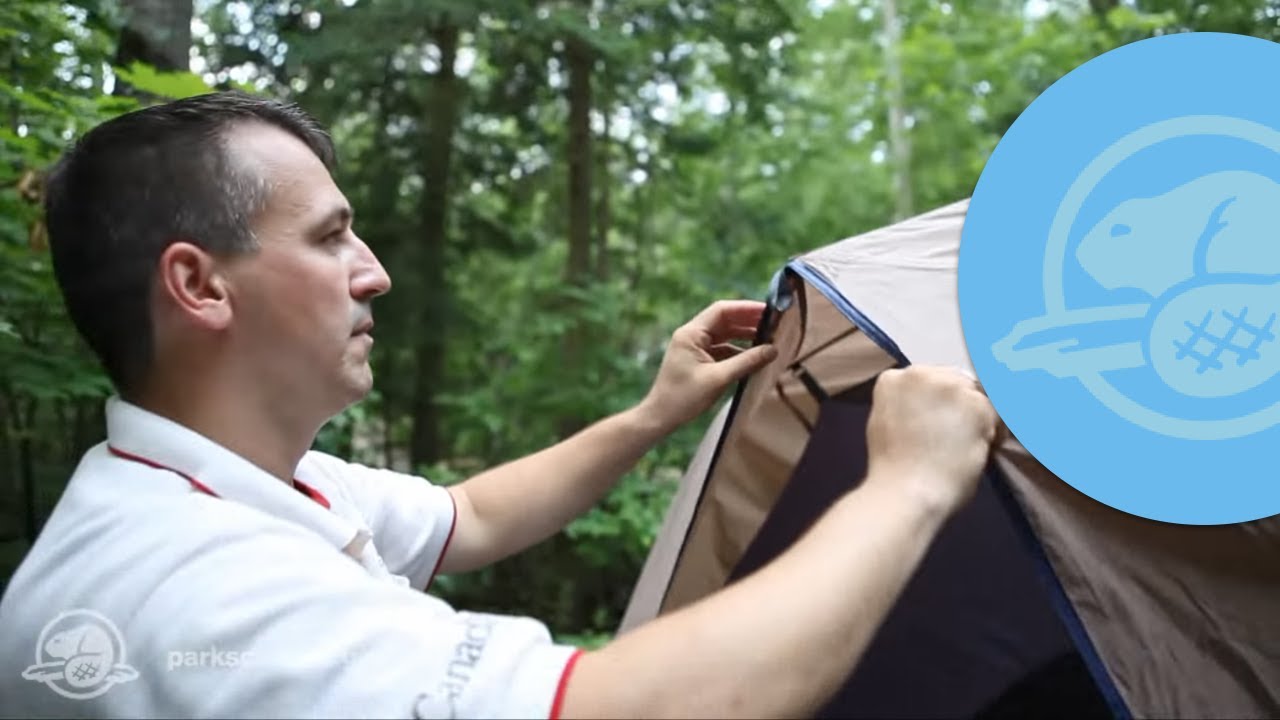
3. Secure the overhang.
If your tent has a shell, stake it down at the same time as you’re staking down the four corners of the mainl tent base.
4. Gather the posts.
Arrange and amass the poles of the tent making sure that you have all the necessary pieces for proper assembly. Assemble the poles and align them to the proper location on your tent.
5. Addition of the tent posts.
Thread the tent shafts through the sleeves running at the edges of the tent. Start with the two center areas — this gives the tent support and helps by putting less weight on the front shafts of the tent. On the off chance that the breeze is blowing, begin placing shafts on in the section of the tent that is facing the breeze. Feed all the shafts through the sleeves and lay them down level on the ground.
6. Raise the tent.
Hold the tent up as you twist the shafts to squeeze them into their clasps — physically supporting the tent prevents unnecessary tension on the posts, decreasing the chance that they will break during setup. Clasp them in at the edge of the tent to get them set up.
7. Utilize the guylines.
Most tents manufactured these days come with guylines to provide extra stability for high winds. While using these is optional, if a wind picks up unexpectedly it will be easier to secure the tent if you prepare the guylines ahead of time. To set them up work around the tent, pulling the guy lines tight. On the off chance that your camping area isn’t near rocks or trees for securing the lines, you can fix guylines straight into the ground at a 45-degree angle.
8. Appreciate and Enjoy
Once your tent is raised and secure, pause for a minute and take in your beautiful surroundings.
Camping and setting up where you will stay requires coordination. Regardless of whether you enjoy dispersed camping or prefer to make home base in a campground, the overall goal is the same – enjoy the outdoors and take in the natural beauty of our world.


